Menus & Widgets
An overview on how to update your site’s main navigation, footer links, and sidebar widgets.
WordPress User Guide
Managing Menus
Within WordPress you can edit your site’s navigational menus. More commonly called a menu or navigation, they typically appear in your site’s header (main navigation) and footer (most often for legal policies and quick links). Menus allow you to display navigational links at the top and bottom of every page.
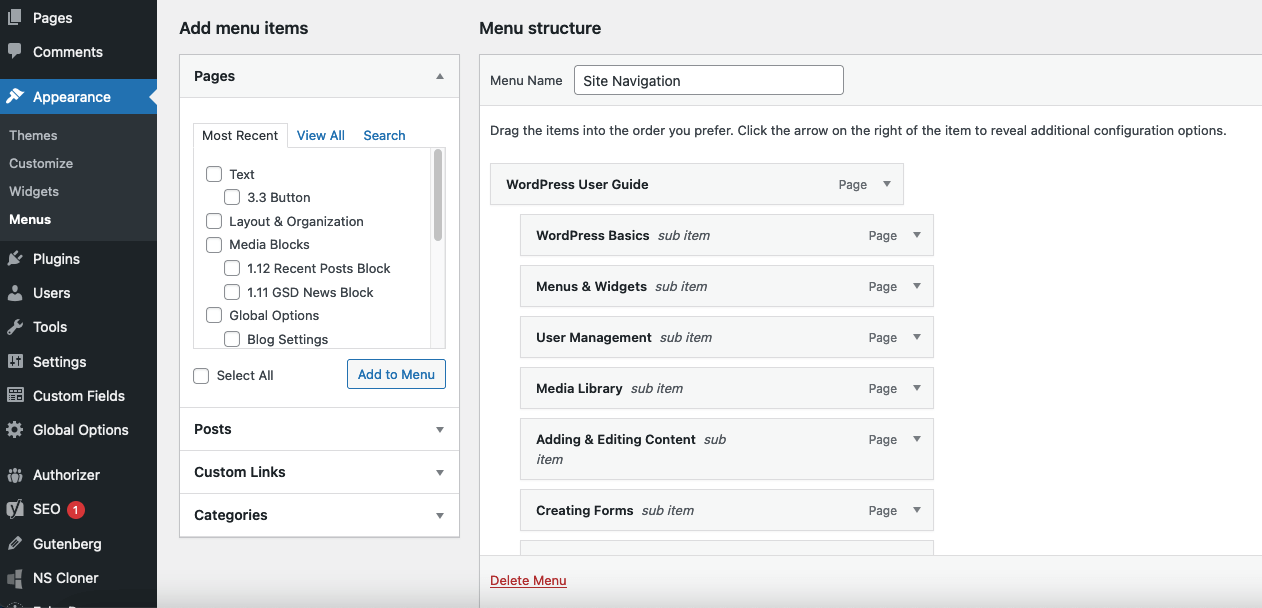
You can manage your site’s menus by logging into WordPress and clicking on Appearance in the WordPress navigation. Then click into Menus. Below is an overview to help you set up your menus. For more information on managing your WordPress menus, visit the WordPress Support site.
Menu Locations
There are three menus used throughout the site:
- The Primary menu is your site’s main navigation. It is displayed in the header at the top of the site.
- The Site Footer menu is displayed on the left side of the footer. This will automatically populate with some Harvard links, but you can add more.
- The Sub Site Footer menu appears on the right side of the footer. This will automatically populate with some Harvard’s policy links, but you can add additional links.
Adding/Editing Menus
You can choose to edit or add a new menu at the top of the Edit Menus page. Add menu items by selecting pages from the sidebar, or creating a custom link. Then drag the menu item to the position you want it in.
Menu Item Options
To edit the menu settings for an individual page, expand the menu item by clicking on the triangle on the right. You will then see various options for the link, such as the label that will appear in the navigation, a tick box to open the link in a new tab, and a link to remove the item from the menu. If you don’t see all the options, open the Screen Options in the bottom right corner of your admin toolbar and select the fields you want to show.

Widgets
If you have a news area on your site, then you can specify what components appear in the sidebar of your news index. This includes category and tag filters, a calendar, and a search bar. These components are known as widgets. A widget is a block of content that can be added to certain areas on the site. WordPress provides a variety of built-in widgets for you to choose from. Log into WordPress and click on Appearance in the WordPress navigation. Then click on Widgets. Select the widgets you want to add and click Update.
For the widgets to appear, make sure the sidebar has been enabled in the Blog settings of your site’s Global Options settings (also located in the WordPress navigation).
For more information on managing your WordPress widgets, visit the WordPress Support site.